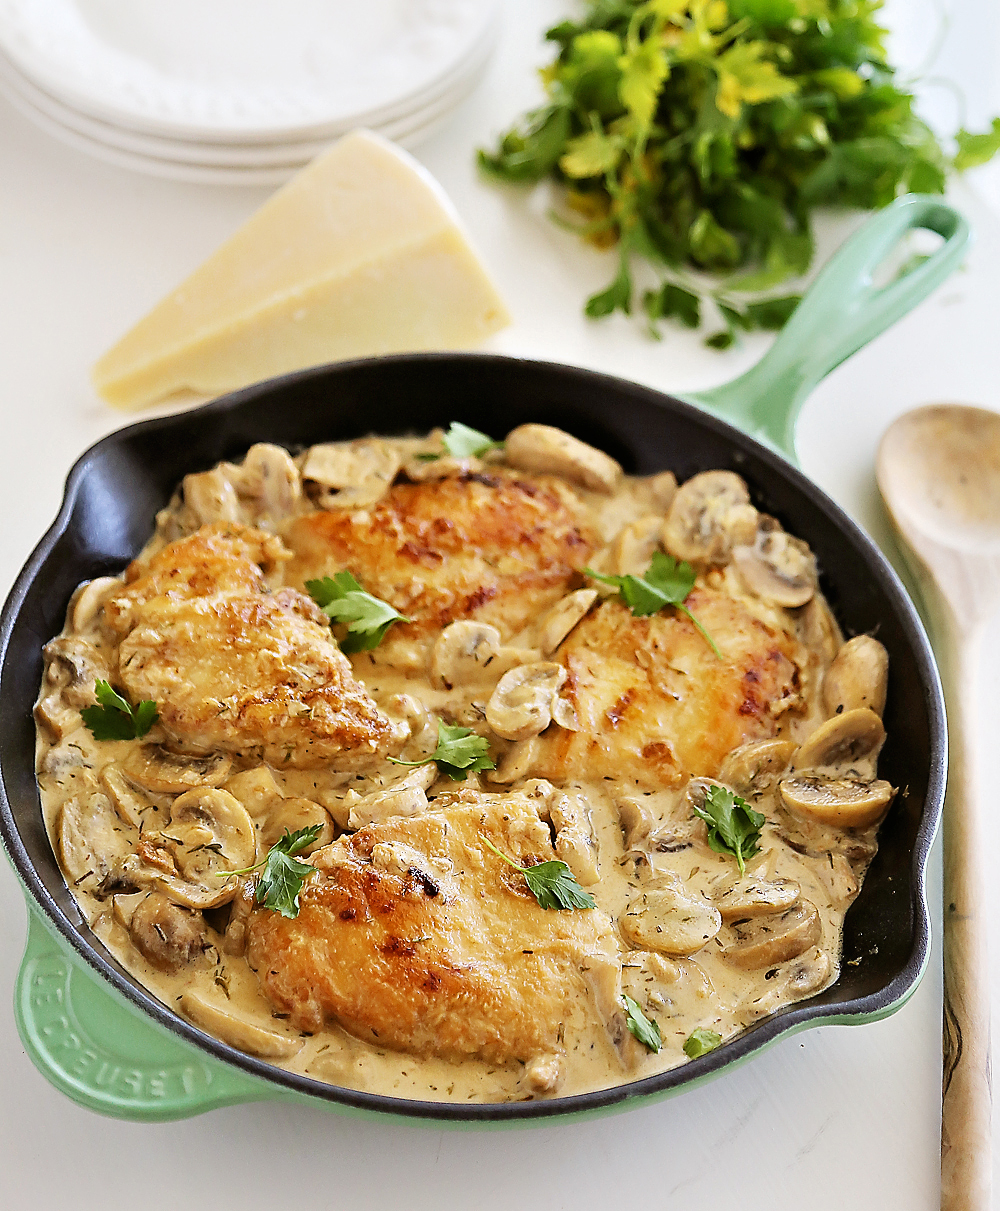
 Mushroom Asiago Chicken
Prep time - Cook time
Total time
Author: Judith Hannemann
Serves: 4
Ingredients
- 1 lb boneless skinless chicken breast (about 2 large)
- 2 cups mushrooms, cut in half
- 1 clove garlic, minced
- 3 springs fresh thyme
- 1½ cups dry white wine
- ½ cup seasoned flour
- 2 tbs butter
- 2 tbs olive oil
- ½ cup heavy cream
- ¼-1/2 cup shredded asiago cheese
- ½ tsp salt (or to taste)
- ¼ tsp pepper (or to taste)
- seasoned flour:
- ½ cup all-purpose flour
- 1 tsp salt
- ½ tsp black pepper
Instructions
- Pound chicken breast with a meat mallet between 2 sheets of waxed paper or plastic wrap until meat is uniform thickness; about ¼-inch. Cut into serving-sized pieces (2 or 3 pieces per breast)
- Heat the butter with *1* tbs of olive oil in deep, heavy skillet or saute pan over medium heat.
- Dredge chicken in seasoned flour. Add to hot oil/butter in skillet. Saute until golden on each side, about 5 minutes per side. Remove from pan.
- Add remaining olive oil to hot skillet. Saute mushrooms and garlic until mushrooms begin to brown.
- Add white wine to skillet, scraping up all the browned bits that are at the bottom of the pan (this is called “deglazing”). Bruise the fresh thyme by twisting it between your fingers or hitting it with the dull side of a knife in a few places. Add thyme to mushroom/wine mixture in pan.
- Add the chicken back to the pan. Bring to a boil, then reduce heat, cover and simmer for 15-20 minutes.
- Remove chicken from pan. Add the cream and heat through. Add the asiago cheese (if you like it strongly flavored, use ½ cup; not as strongly flavored, use the ¼ cup–asiago is a powerful cheese and you can even use less for just a whisper of flavor. I like it strong so I used ½ cup).
- Cook, stirring constantly over low heat until cheese melts. Continue cooking until sauce is reduced by about ½. If you wish to skip the reduction step, you may thicken the sauce slightly with about 1 tbs instant flour or 1 tbs cornstarch mixed with 2 tbs water…however, the reduction will taste better.
- Add chicken back to pan and heat through.
- Garnish with sprigs of fresh thyme. May be served over any pasta.


